With Shopify Location option in the Inventory section, you are able to sync the Store Location with your specific Shopify Location.
(If you want to manage by Product Tags → Click here.)
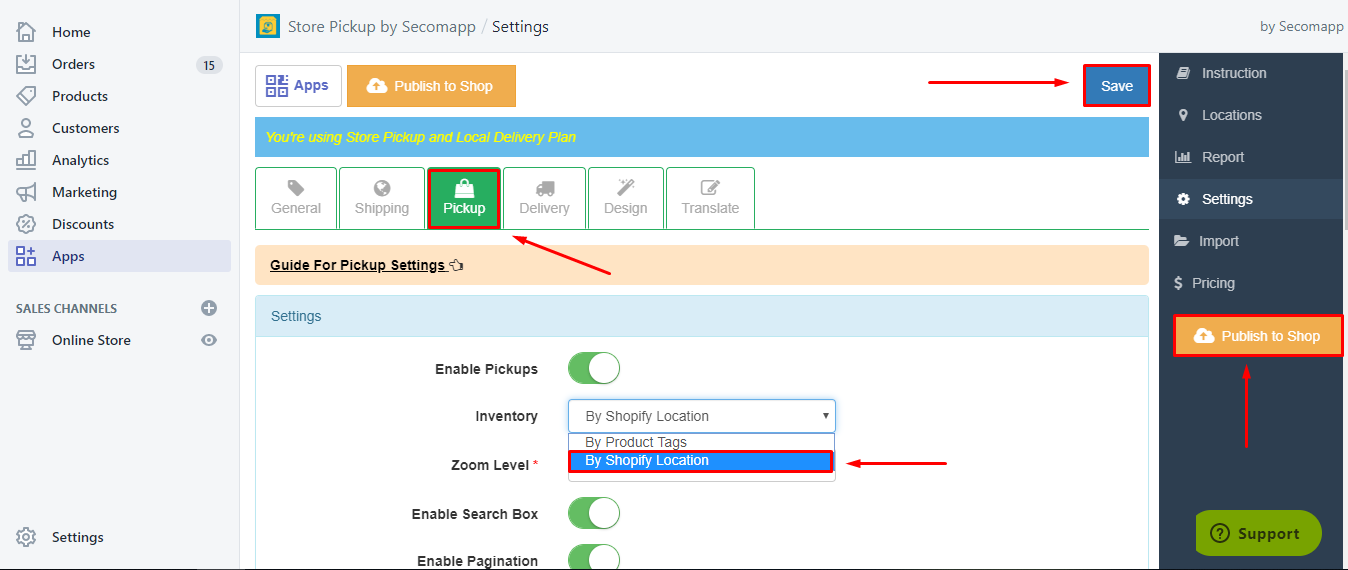
Step 1: Select the Shopify Location option
→ Firstly, go to Settings.
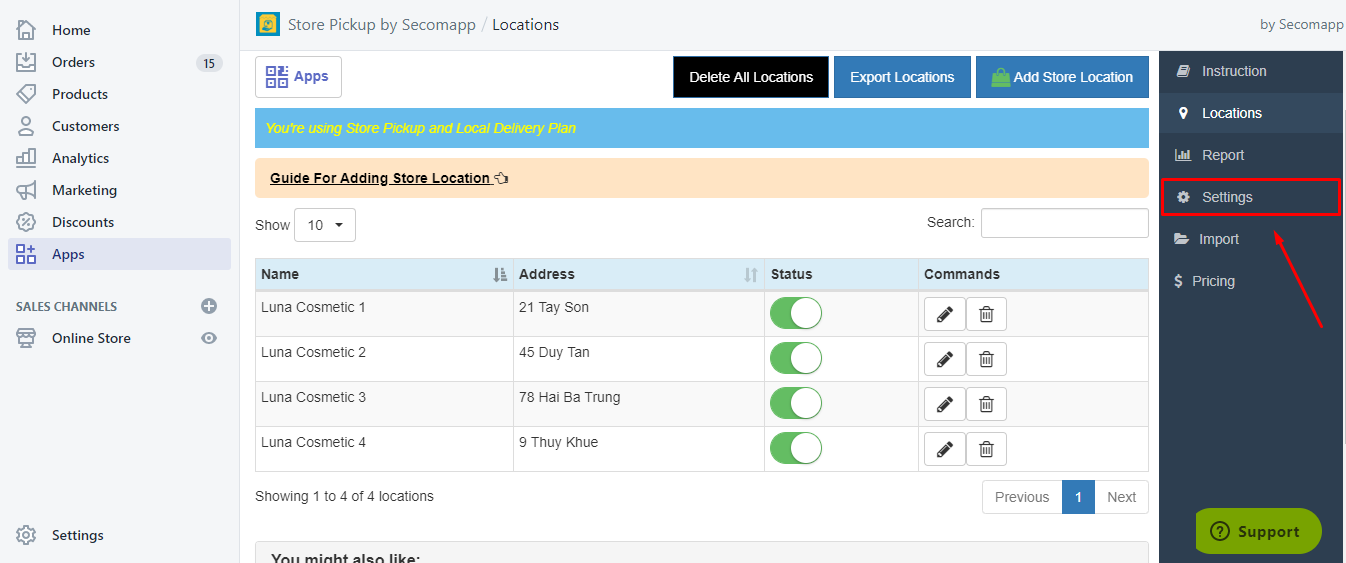
→ Click the Pickup tab and choose Inventory option: By Shopify Location in the Settings part. Remember to click Save and Publish to Shop!
Step 2: Add your Store Location to Shopify Location
→ Go to Settings on the left side menu bar of your Backend.
→ Click Locations
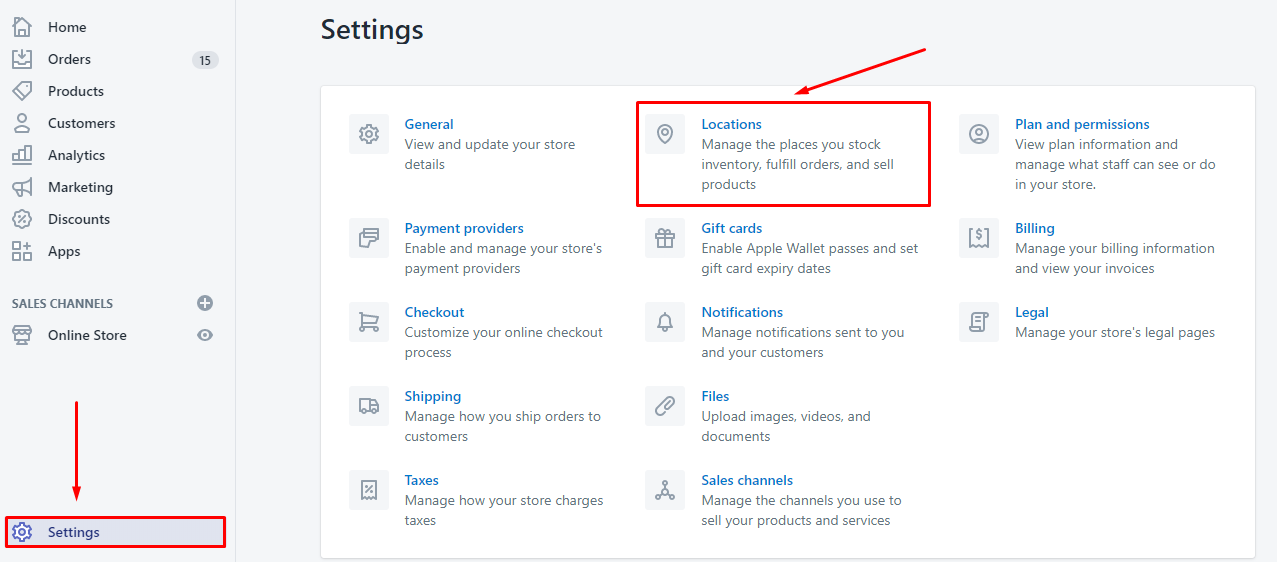
→ Click Add location to add the Store Locations you have in Store Pickup app to Shopify Location

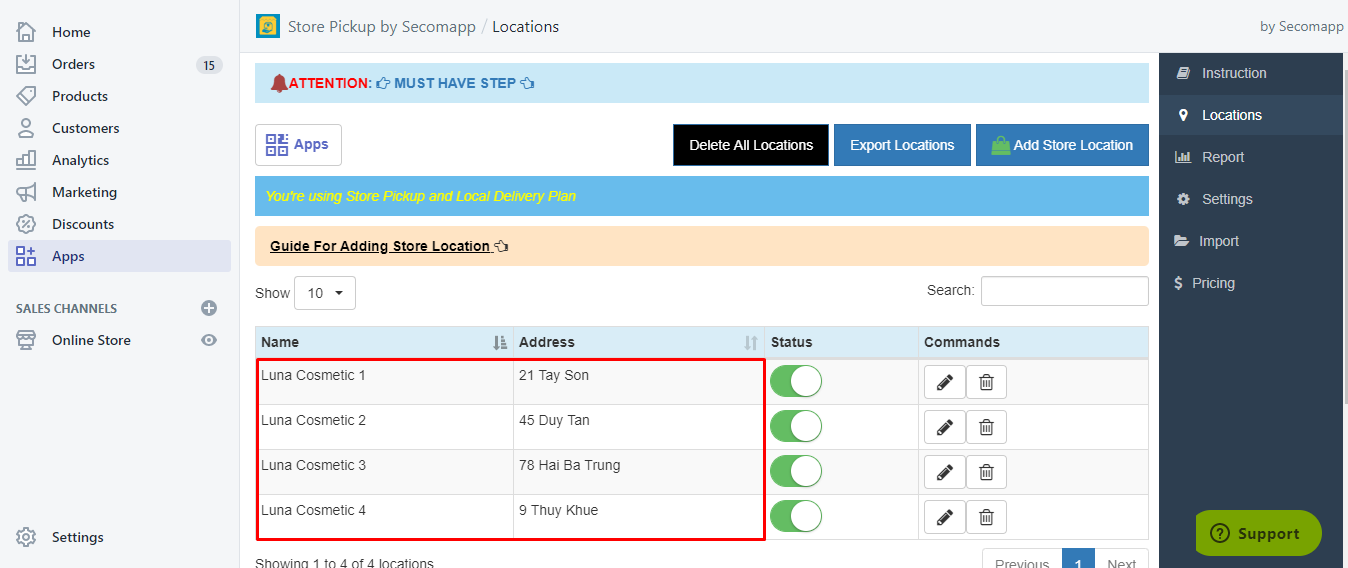
- In this example, we have 4 store locations in Store Pickup app which need to be added to Shopify location.
→ Fill in your store information and Save them. Continue adding your other stores.
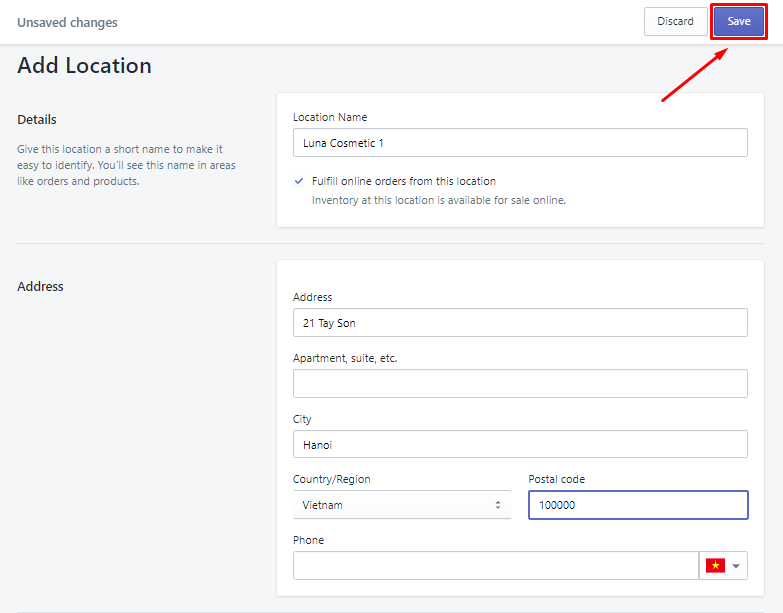
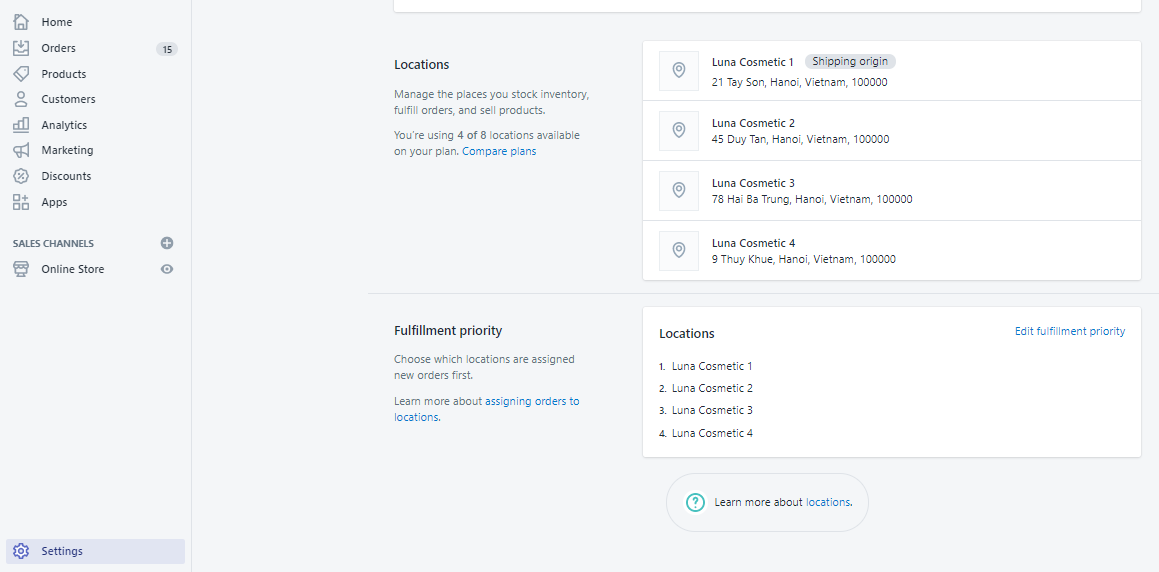
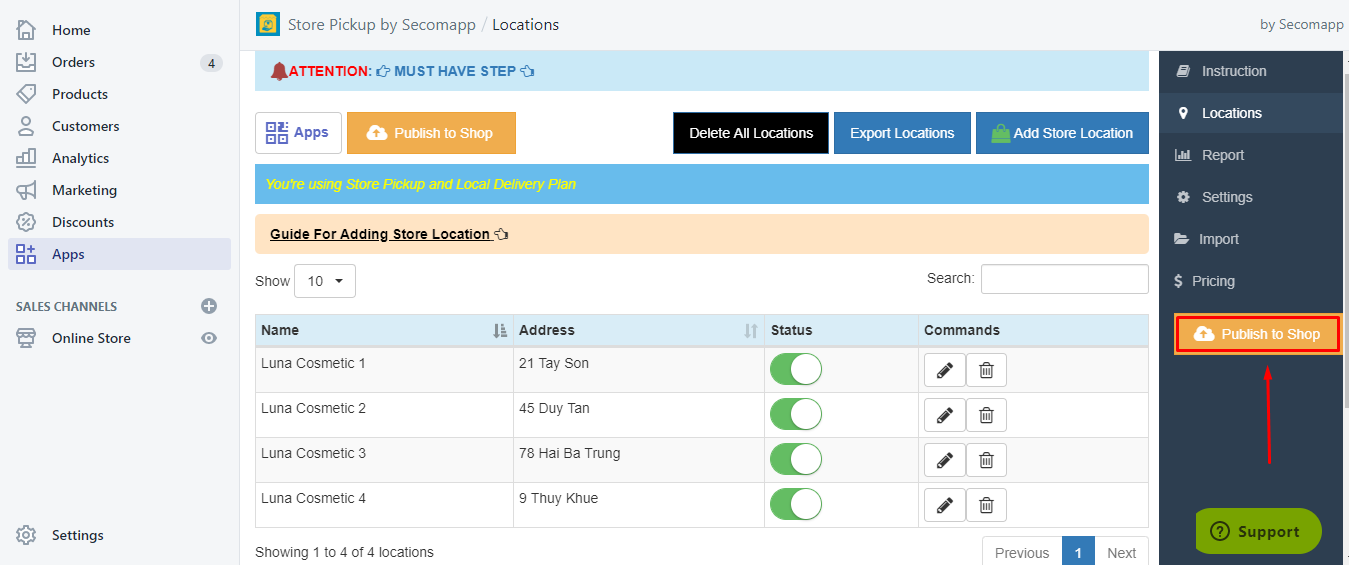
→ After finishing adding, your stores will show up as follow:
Step 3: Sync your Store Location with Shopify Location
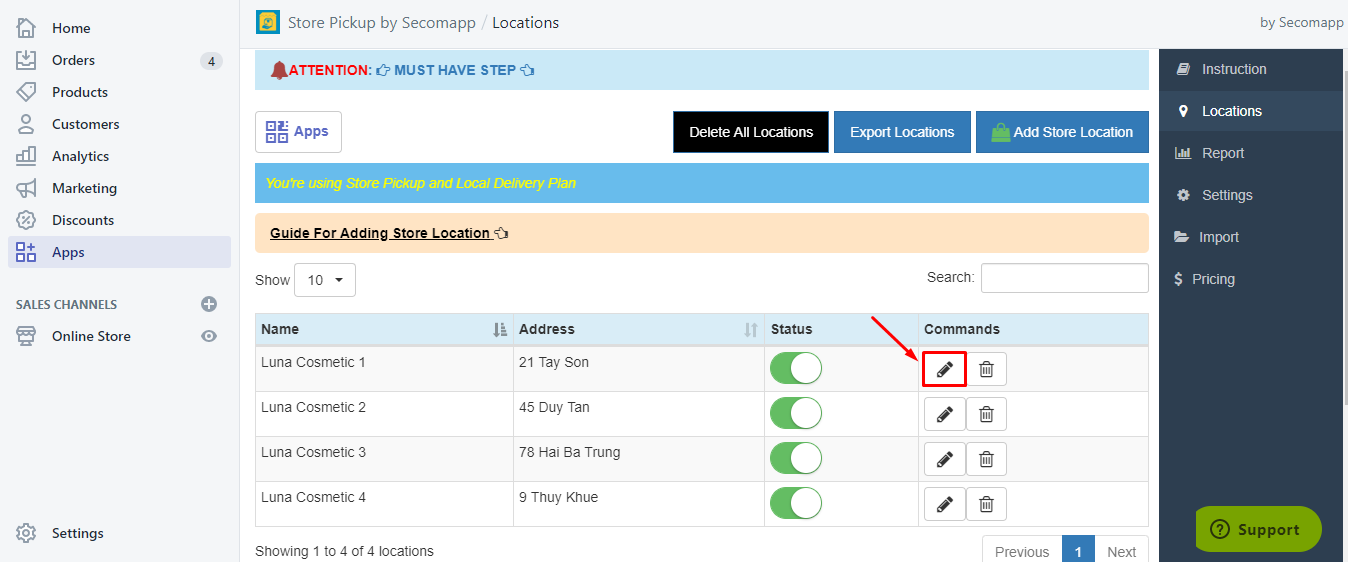
→ Turn back to Store Pickup app. → Click the pencil icon ![]() .
.
→ Go to Inventory tab → Select the corresponding store to sync your Store Location in Store Pickup app with Shopify Location. → Click Save Location.
- In this example, we sync the location Luna Cosmetic 1 in Store Pickup app with its corresponding store Luna Cosmetic 1 in Shopify Location.
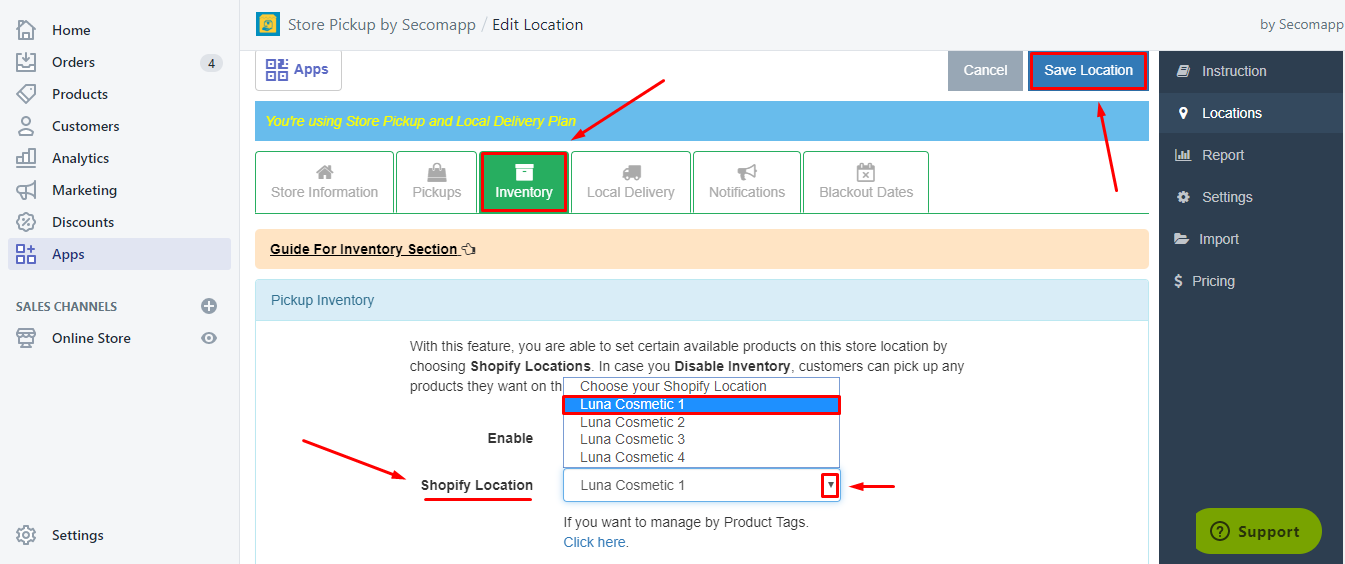
→ Edit the same with your other stores so that the store locations are sync with Shopify locations. → After finishing, don’t forget to click Publish to Shop.
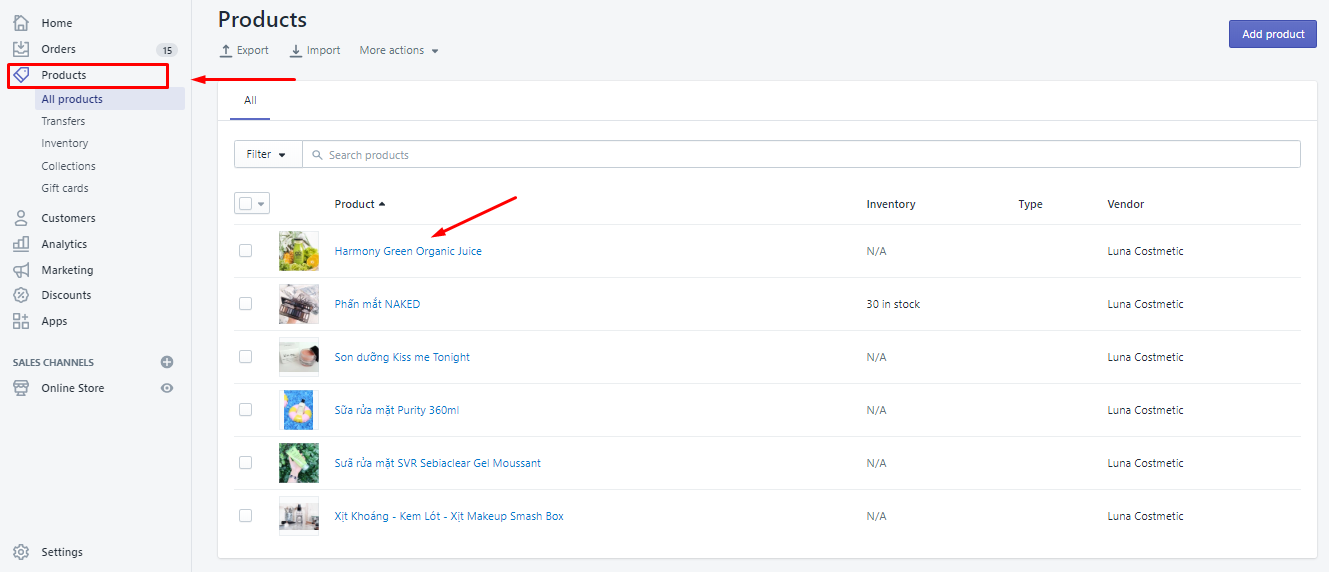
Step 4: Select the locations where the product is stocked
→ Go to Product tab on the left side menu bar and choose a product you want to set the location where it is stocked.
- In this example, we choose the product: Harmony Green Organic Juice.
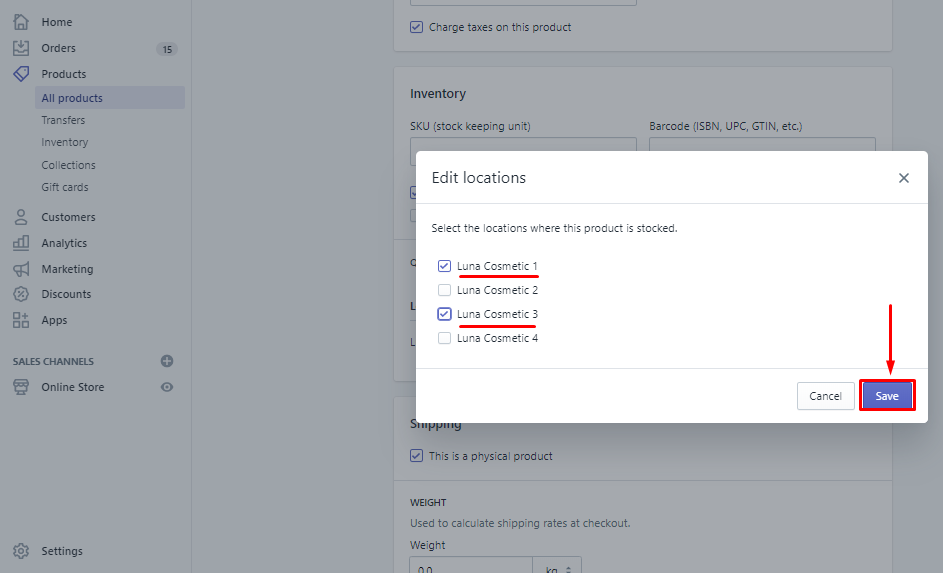
→ Click at the product and scroll down to Inventory part → Tick Track quantity and click Edit locations to start selecting.

→ Select the store locations where this product is stocked by ticking the store names.
→ Click Save.
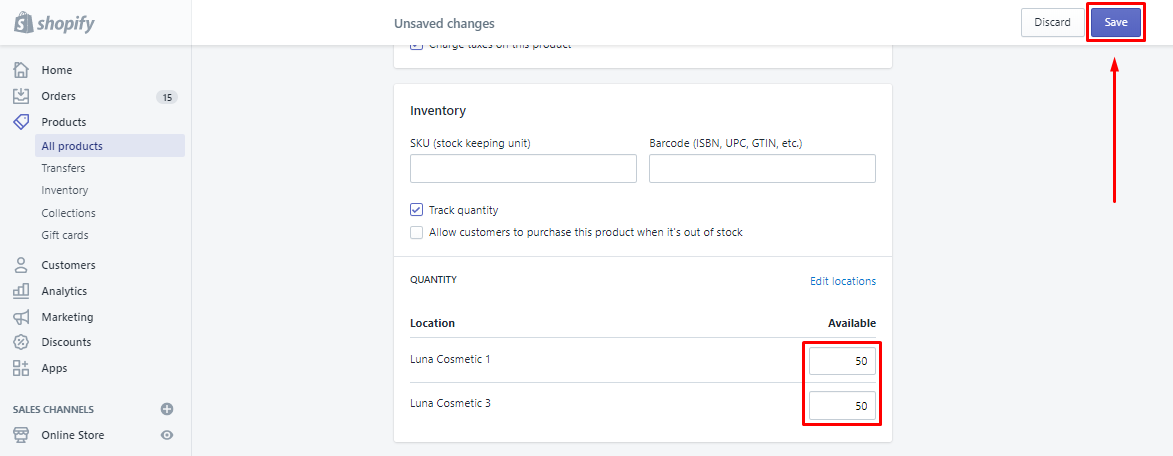
→ Set the quantity of the product at each location and click Save to finish.
- In this example, we have 50 Harmony Green Organic Juice available in both locations 1 and 3.
*Testing:
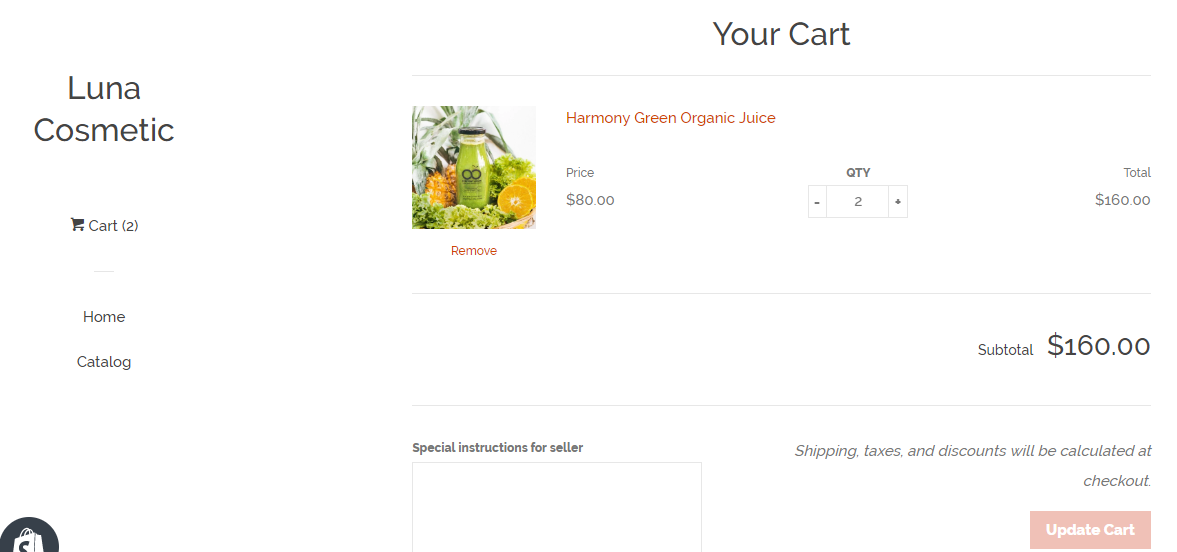
- In our example, we will order 2 Harmony Green Organic Juice.
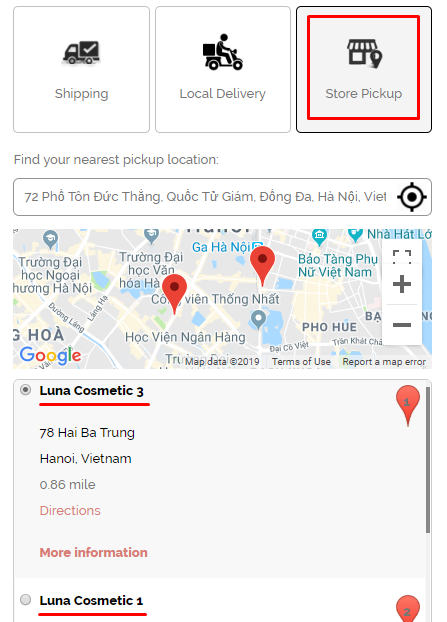
- By selecting Store Pickup option you will see that there are only 2 locations which have this product available: Luna Cosmetic 1 and 3 (like we have set above). We will select location Luna Cosmetic 3 to pick-up our order.
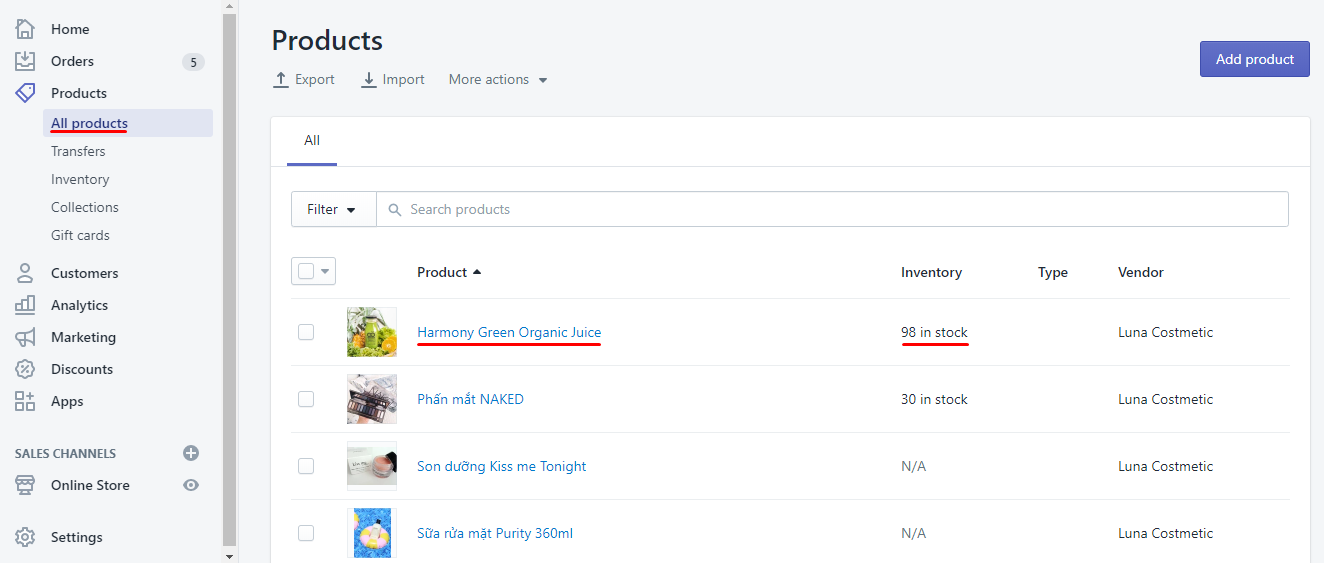
- After completing the purchase successfully, we can see in the Product part (left side menu bar) that the total Inventory in stock of product Harmony Green Organic Juice has been automatically deducted.
- If we click on the product and scroll down to Inventory part, we can see that the available quantity of Luna Cosmetic 3 has been subtracted 2, which are the 2 Organic Juice we have ordered.

Comments